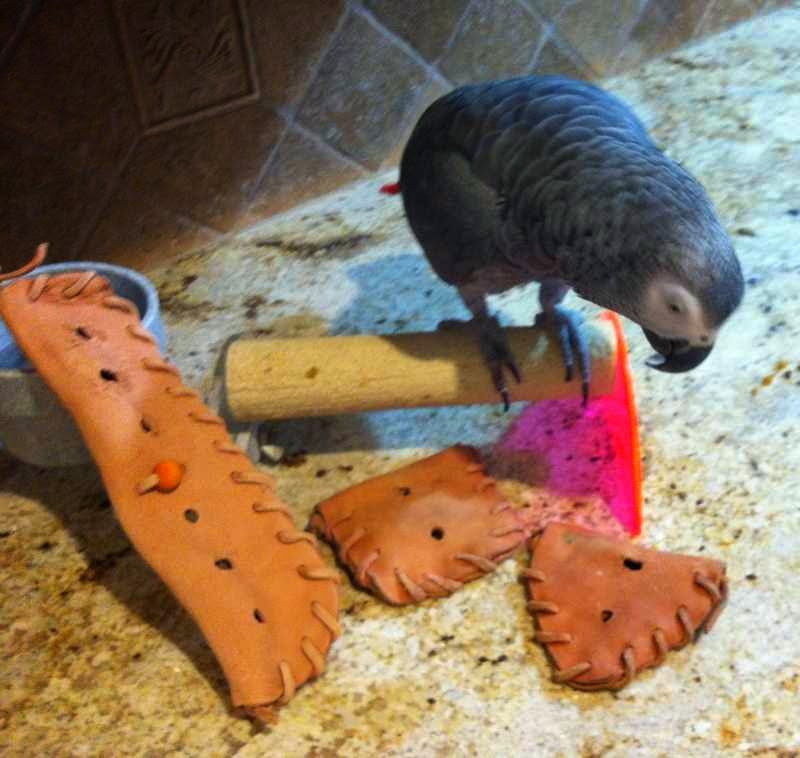
Marcia bought something similar from a bird toy company years ago. As you can see the holes are pretty big and we wondered how "bird safe" the rivets are. "We'll make one!" is what Marcia said! We'll call it a "Nut Pouch." Here is the original pouch she bought. You can buy one here.
Supplies for a Nut Pouch
We have a store nearby that sell all kinds of leather and leather working tools. Here is the online store. Marcia bought a vegetable tanned hide of leather. When making bird toys it's very important to buy only "vegetable tanned" leather. (Tanning is the term used for the process of cleaning leather to make it soft and pliable.) Other leathers are tanned with chemicals and are harmful to parrots. |
| This hide will make dozens of nut pouches! |
She also bought two leather punches, 1/8" punch and a 1/4" punch. She purchased a rubber mallet from the hardware store.
A hard, solid table is perfect to work on because you do some very hard pounding when you punch the leather. A piece of wood placed on the table surface will protect the your table top and will keep your punches from getting dull.
Make your pattern
You can get as creative as you want, but keep the design simple. You will be lacing around it and you don't want it to have too many curved edges. I have a long one for my cage that gets filled up and lasts a long time. I once made a Texas shaped Nut Pouch for Bibi the Bird when she came for a visit. That was the fanciest one ever made! Einstein's favorite is the triangle shape.Draw your shape on a piece of paper, then cut it out. I've provided a pattern for the square and triangle shaped nut pouch here.
Transfer your shape to the leather. I like one edge to be folded. (One less edge to punch and lace.)
Cut out the shape with a pair of scissors.
Take the shape, and moisten it with water. Pat it dry with a clean cloth. You want the leather moist, not dripping wet. Leather is easier to punch and work with when it is moist.
Here's a video that shows you how to punch and lace the nut pouch.
Punch the holes
Use the 1/8" punch for the lacing holes and the 1/4" punch for the nut holes.Lacing
Moisten the leather lacing just like you did the shape. (If you don't finish, just let the leather dry out and then remoisten when you come back to the project to finish later.)Place the nuts in the center, and fold the leather over. Start lacing the sides. Sometimes a needle nose pliers comes in handy to grab and pull the leather lace through the holes.
Make a knot at each end. Sometimes Marcia strings little bead on the ends to make it fancy!
Let it dry, then enjoy your NewNut Pouch!


No comments:
Post a Comment